Conditional attributes let users tailor the same document for
different audiences and products. IXIASOFT CCMS supports the DITA attributes
that let you hide portions of text—or even entire topics—that do not apply to a specific
audience, product, platform, etc.
Users can apply conditions
on objects in a map or elements in topics, and then specify the conditions to display when
they generate their output.
For example, when users click the Set
Conditions button in the DITA Map view,
the Set Conditions window lists the conditions that
are currently configured in the CMS, grouped by attribute, as shown in the following
screenshot.
Figure: Example of the Set Conditions
dialog box
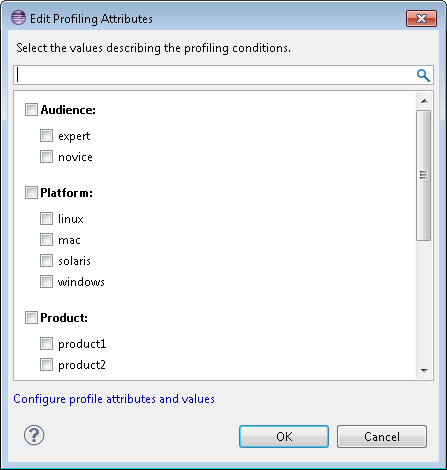
When users right-click highlighted content in a topic
in Author mode (in the oXygen XML Editor) and click Edit
Profiling Attributes, the dialog box lists the available conditions: Figure: Example of the Edit Profiling
Attributes dialog box
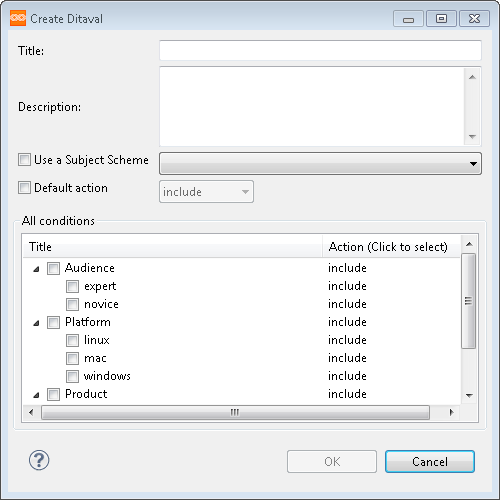
Also, when users create Ditaval files through the IXIASOFT CCMS Desktop, a list of conditions is displayed in the Create Ditaval dialog box. Figure: Example of the Create
Ditaval dialog boxAs the system administrator, you need to configure the conditions that will be
listed in these dialogs. You configure this information in the conditionaltext.xml file.
To configure conditions:
Open the TEXTML Administration perspective by clicking the
TEXTML Administration shortcut on the
tool bar. If the shortcut is not displayed, follow these steps:
Select Window > Perspective > Open Perspective > Other
Click TEXTML
Administration.
Click Open.
In the TEXTML
Administration view, double-click the server. If your server is
not displayed in the view, you must add it to the view.
When the Connect as dialog
opens, type your username and password and click OK.
Double-click the name of your Content Store to open a connection to it.
Right-click conditionaltext.xml and click Check
Out.
Double-click the file to open it in the XML editor area.
For each condition to display in the dialogs, create a <category> entry, specifying the following
information: