All objects that were modified and for which the changes can be merged automatically are
displayed in the Changes in source section with the () icon.
It's always a good practice to first look at the changes to make sure that you do want to
approve them.
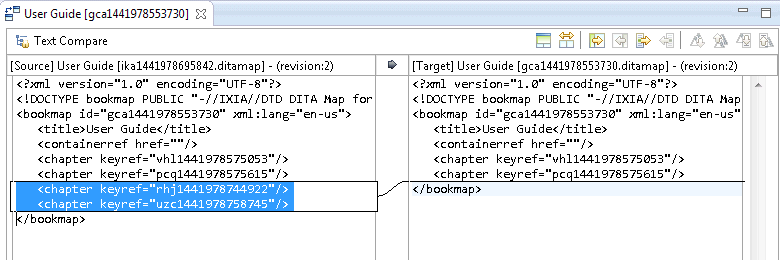
This is done by opening the object in a compare editor. For example, consider a map
that includes two new chapters. Opening the map in a compare editor would display
the following changes:The compare editor shows that two chapter references were added to the
map.
Note: When you first open the object in a compare editor, the object is locked and the
content in the source is inserted into the target object. For example, if you had
added a new paragraph in the source topic, the Compare Editor would automatically
add it to the target topic.
To automatically apply modifications:
In the Synchronization Tree, right-click the object and
select either Merge in > Compare Editor or Merge in > Default Editor depending on which editor you prefer.
The object is locked and opened in the editor.
Review the changes to confirm that you agree with them.
In the Synchronization Tree, right-click the object and
select Replace with Server Revision.
In the Synchronization Tree, right-click the object and
select Accept.
The object is added to the target version. It is also removed from the
Changes in source folder and moved to the
Reused folder. You can branch it again later on if
you need to use it in another version.